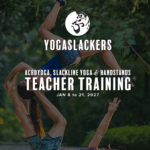
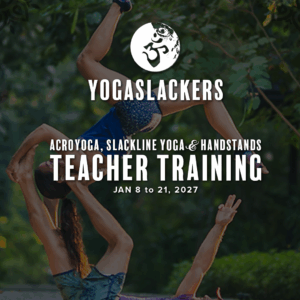
08 January 2027 - 21 January 2027
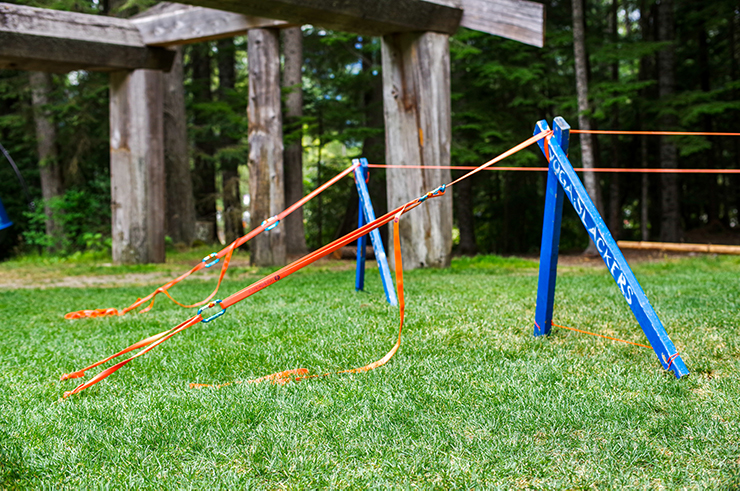
YogaSlackers Teacher Training | Jan 8-21, 2027
Kaomai Lanna Resort, Chiang Mai, Thailand
Kaomai Lanna Resort, Chiang Mai, Thailand