This page contains information to get you prepared for your slackline journey.
We recommend you review the safety protocol listed in this page before you attempt to slackline. More over, we suggest you review and discuss these guidelines with your friends whenever you go slacklining.
This page also includes additional information to get you acquainted with this sport. From learning about the different types of slacklines currently available to learning the most common terms you will require to communicate with other slackers.
Safety Considerations
Slacklining is still a sport in its ‘social’ infancy. Depending on where you practice, the public around you may or may not be familiar with slacklines. It is your responsibility to create a safe environment for your practice and for others sharing the space around you. If your line is less than 50 ft long and approximately knee to chest high these guidelines usually apply.
Plan Ahead
Connect with other slackliners in your area, in person or via the web and social media, to find a suitable spot for slacklining.
Know the rules of the park. Some locations do not allow the use of trees for slacklining or may have limits on height, length, and number of lines. Check with officials ahead of time.
Avoid busy parks or those historically used for other purposes.
Schedule your practices for when the park is least busy.
Contact officials if you plan to conduct regular meetings or if you will be using a considerable portion of the park.
Protect The Trees
Always use tree protection. Outdoor carpet is great for protecting both the tree and your gear from abrasion.
Tree protection should not be attached to the anchor or sling. This allows the anchor to move without affecting the bark.
Choose trees that are at least 12 inches in diameter at the height of the sling. If the tree moves, it’s not suitable for slacklining.
Look up. Ensure that the tree is alive and its branches are healthy. Check that there are no objects in the tree that might fall during your practice. Also, be mindful of low branches to ensure you won't stand up into a branch.
Choose the Right Spot
Stay away from walkways or paths. Do not set up in a high traffic areas, or cut off any obvious paths that bikers or walkers use. This includes worn out paths through the grass.
Consider your landing zone. Soft, clean grass is ideal for learning to slack. Sand is another good option. Avoid practicing over rocks, concrete, or hard ground.
Make your line as visible as possible by choosing a color that stands out against the background. Attach ribbons or streamers to the line to increase its visibility.
Avoid attaching to poles, statues, benches, or any other human-made structures that are not designed for slacklining. While it may not look like it, these are usually not able to take the loads. If in doubt, don‘t use it!
Practice Responsibly
Understand the fundamentals and approach the practice with thoughtful progressions.
Never leave your line unattended. When not in use, hang a yoga mat or towel in the center to increase visibility, or better yet, de-tension the line.
Be aware of kids playing nearby and keep an eye out for them. They may not realize that if you fall off the line, the line will rapidly rise. They may also inadvertently run or ride into your line without warning.
Take Down
Take your slackline down before dusk.
Leave your spot cleaner than you found it.
You can find more information on safety protocols in the Slackline US site.
Types of Slacklines
We recommend you start practicing Slackline Yoga on a Garden Line. As you progress in your practice you may want to explore other types of slacklines. Here is a list of the different styles of slacklines available. You can practice different styles of slacklining on all of them.
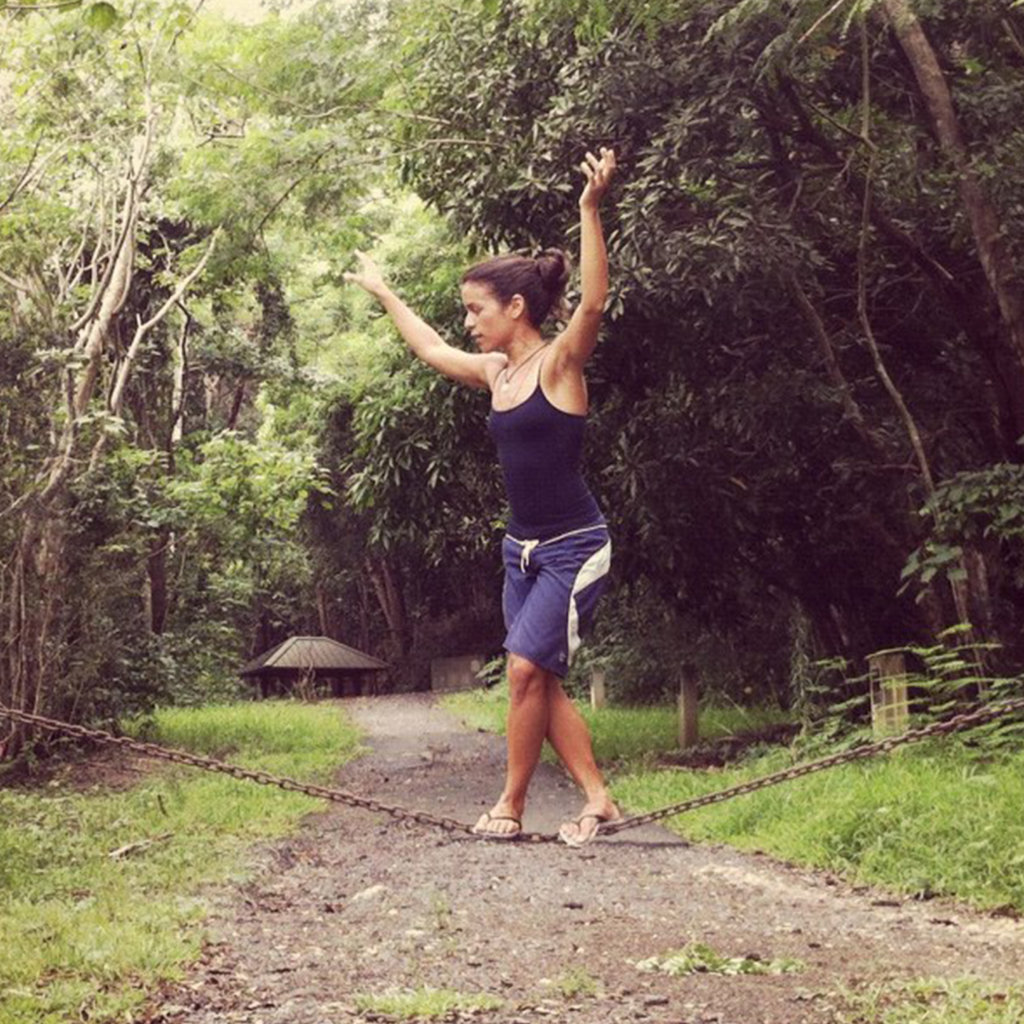
YogaSlackers Teacher Raquel Hernández walking a chain line in Puerto Rico
Chain Line
We figure we should add chain lines to the list, because while they are not a true slackline – since they are not made out of webbing – chains are the medium that pushed slacklining to become a thing. Plus, if you keep an open eye, you will see chain lines almost everywhere. Before you step on a chain, make sure the attachments are solid.
YogaSlackers Teacher Colin Thalhofer lying down on a rodeo line.
Rodeo Line
These lines are usually short, the ends are hung high with the middle hanging low in a parabolic arch. Rodeo lines are not tensioned, and take supreme control from the user to keep them still. Falls from a rodeo line can be surprisingly quick since the line basically disappears from under the slacker. These lines are perhaps the easiest to set up and both challenging and beneficial to practice slackasana on.
YogaSlackers co-founder Sam Salwei balancing a One Arm Mayurasana
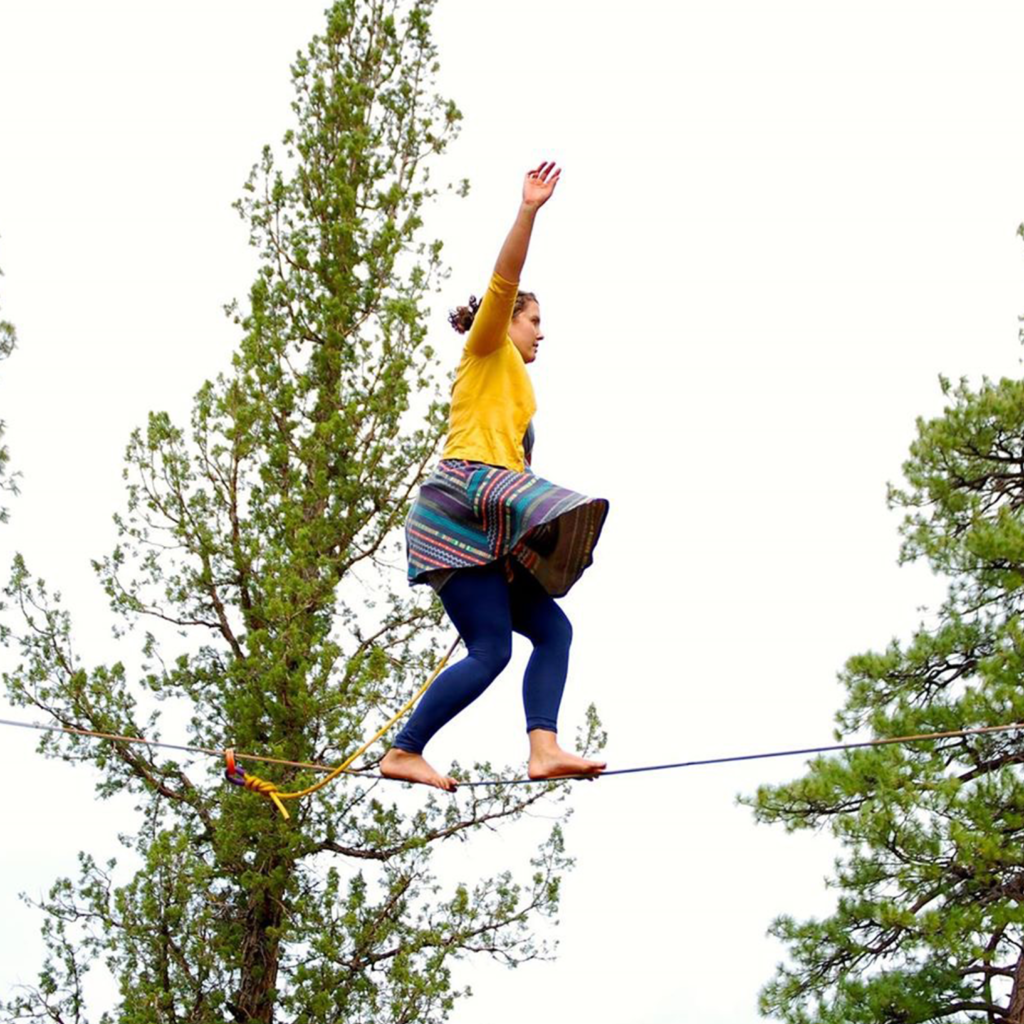
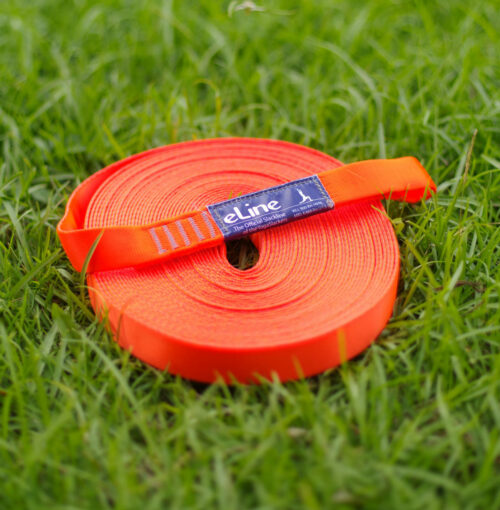
Garden Line
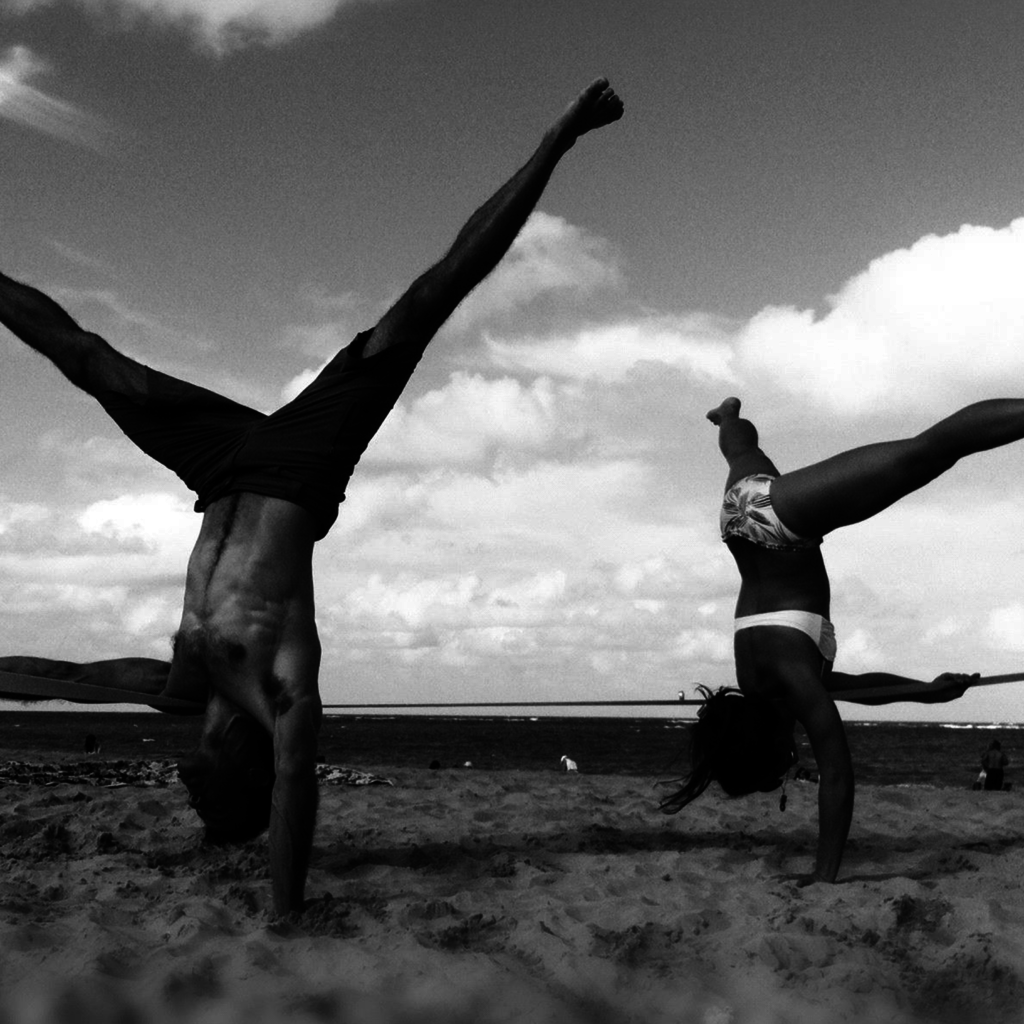
This is the generic term for slacklining on 1 inch webbing that is close to the ground. Garden lines are typically between 20 and 35 feet long and only a few inches above the ground when weighted. This type of line is where most people develop new skills as there is very little commitment required and falls are generally safe. Most slackasana is taught on a garden line. Garden lines are also known as Park and/or Yoga Lines.
Walking a Longline
Longline
As the length of a slackline increases, the difficulty of walking and practicing poses on the line increases too. This is because of the additional stored energy in the line, the height required to set them up safely, the amount of potential horizontal movement, and the added cumulative weight of the webbing. Today, longlining normally refers to lines that are at least 100 feet long. With improvements in materials, slacklines of up to 2 km have been walked. A good way to challenge your practice is to attempt simple flows and poses on a longline.
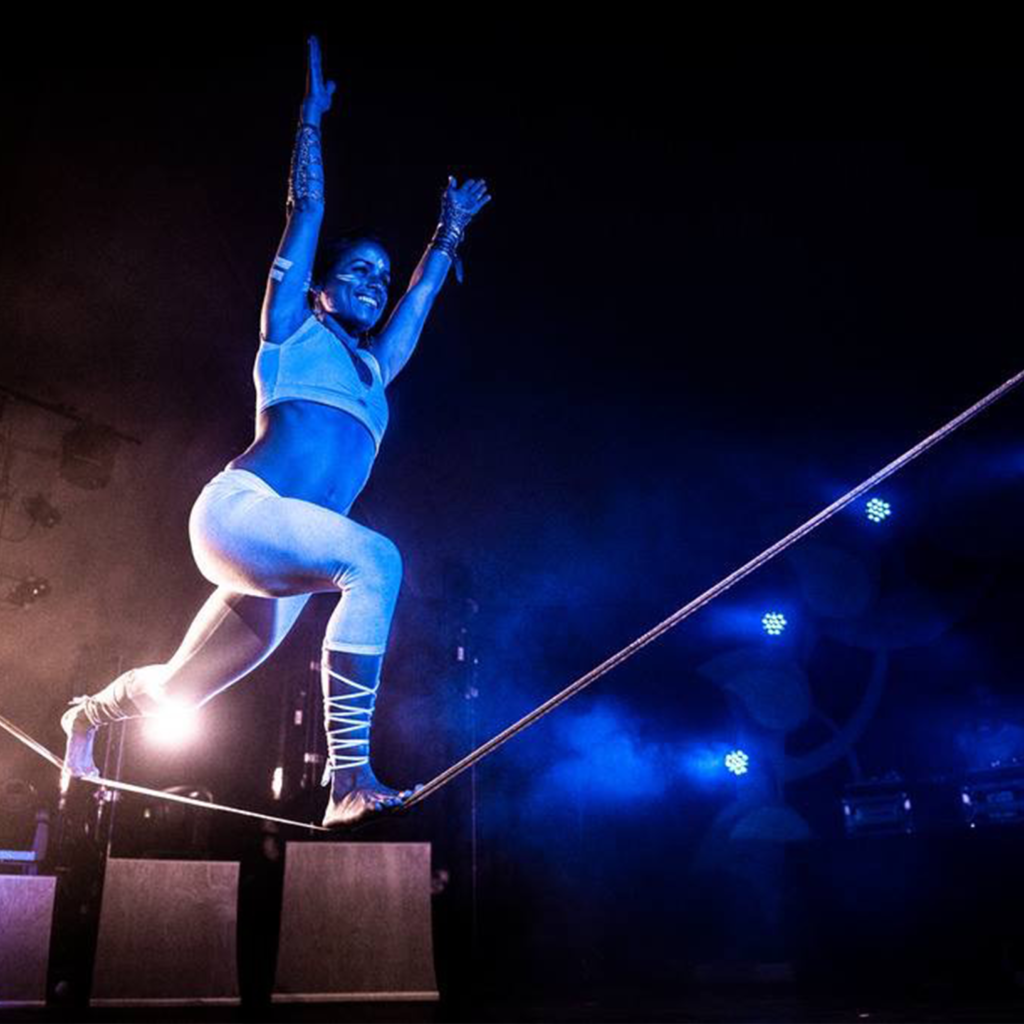
YogaSlackers Teacher Malory Danger Paige walking a highline
Highline
At one point in slackline history, highlines were defined as a line that is setup at a height that is greater than the length of the line. But now a days highlines can be much longer than higher. Therefore you can define a highline as any slackline set dangerously high from the ground or water. In truth, a highline is any line where a fall from the line would result in a long and fatal drop. Most people walking highlines use a leash to keep them from hitting the ground if they fall. Safety and redundancy are the most important aspects in highlining. All components are backed up to reduce the danger due to gear failure. These lines take supreme focus and determination to both set them up and to slack on them.
Slackline Yoga on a Trickline
Trickline
The trickline is a relative newcomer to the scene, but currently one of the most popular slacklines in the market. Mainly because of the incorrect notion that having a larger surface to practice is easier for beginners. Tricklines are highly tensioned 2 inch wide slacklines. These lines allow the slackliner to perform many trampoline-like stunts. Most trickliners use shoes and perfect the art of using the energy stored in the line to propel them through space and land back on the line.
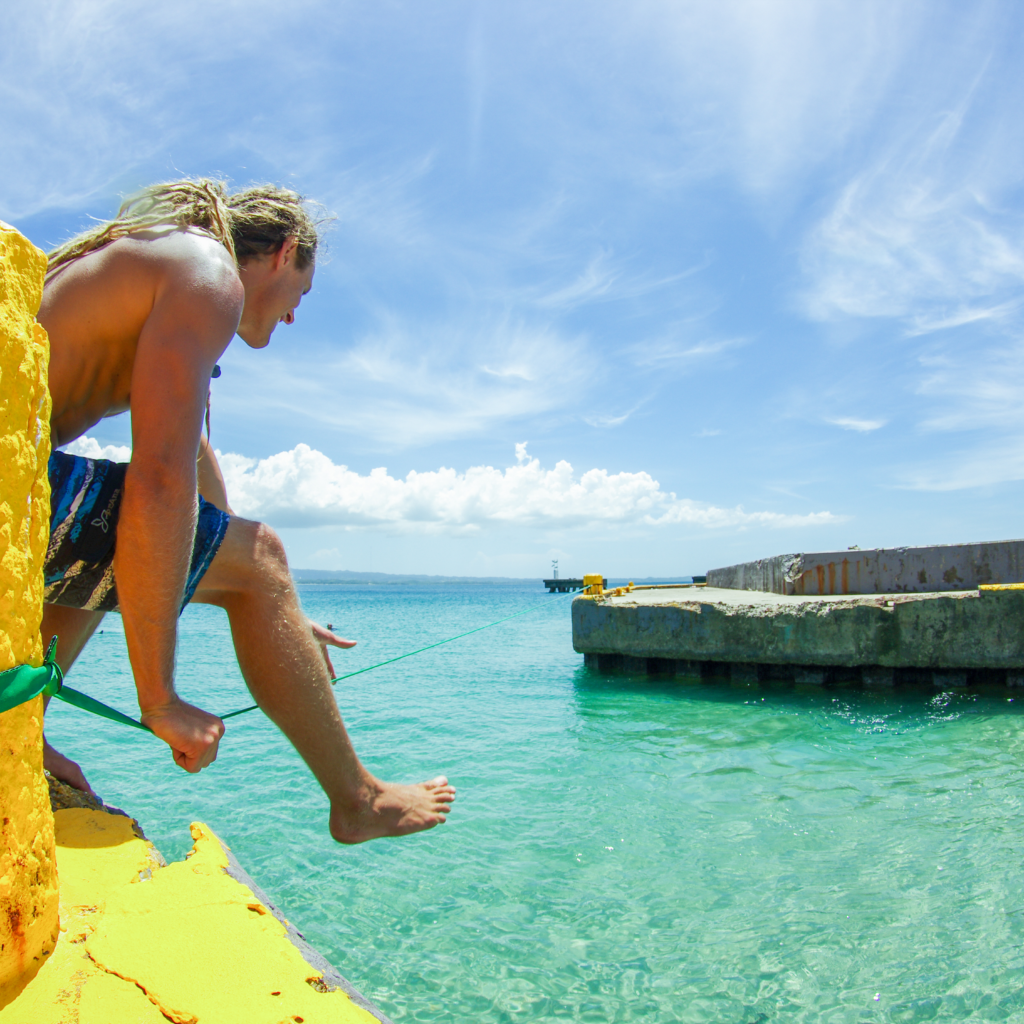
Sam Salwei entering a waterline in Crash Boat, Puerto Rico
Waterline
Waterlines are lines set up over a body of water, creating unique challenges for balance and focus. They are great for working on new moves that require a softer landing and practicing for higher and longer lines.
YogaSlackers Teacher Raquel Hernandez-Cruz walking a humanline during a Festival Performance.
Humanline
A slackline supported and anchored by people. This form of slacklining emphasises – quite literally – the support provided by the larger community to a slackliner.
Important Slackline Terms
This section should help you understand the terminology used by the slackline community. We added here the most common terms that you will need to understand the rigging and use of a slackline.
Rigging
Conglomeration of gear and the act of setting it up.
Material used to protect the bark of the tree from pressure and abrasion.
Tree Pro
Slackline Components
The parts of a slackline setup. On the next session we include information about our prefer setup – gardenlines – using a primitive tensioning system.
Primitive Tensioning System
A simple self locking webbing system that utilizes two carabiners and friction to secure the webbing, and mechanical advantage to tension it.
Most primitive systems have:
A piece of webbing or strap that connects the webbing to a solid object.
YogaSlackers Anchor Webbing or Sling
3) Fastening System
The parts that attached the webbing to the sling.
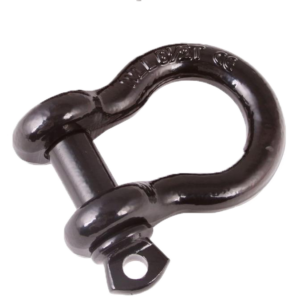
Shackles
U-shaped piece of metal secured with a pin or bolt across the opening. Shackles are the primary connecting link in all manner of rigging systems, from boats and ships to industrial crane rigging, as they allow different rigging subsets to be connected securely. They are great for tri-loaded scenarios.
shackle
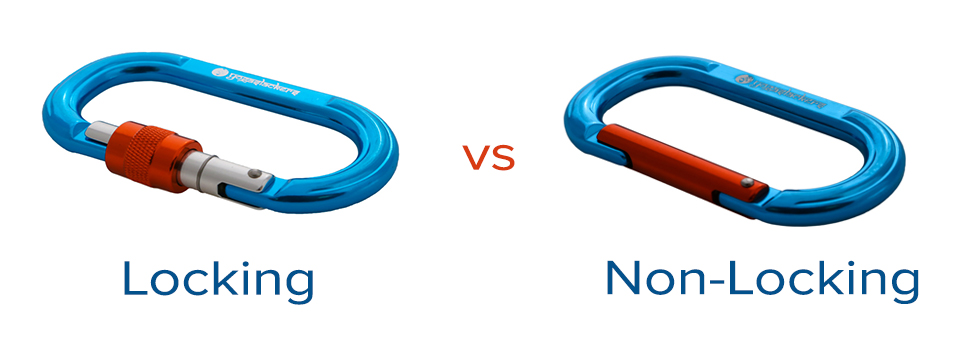
Carabiners
A specialized type of metal connector with a spring-loaded gate used to quickly connect and/or disconnect components.
Carabiners
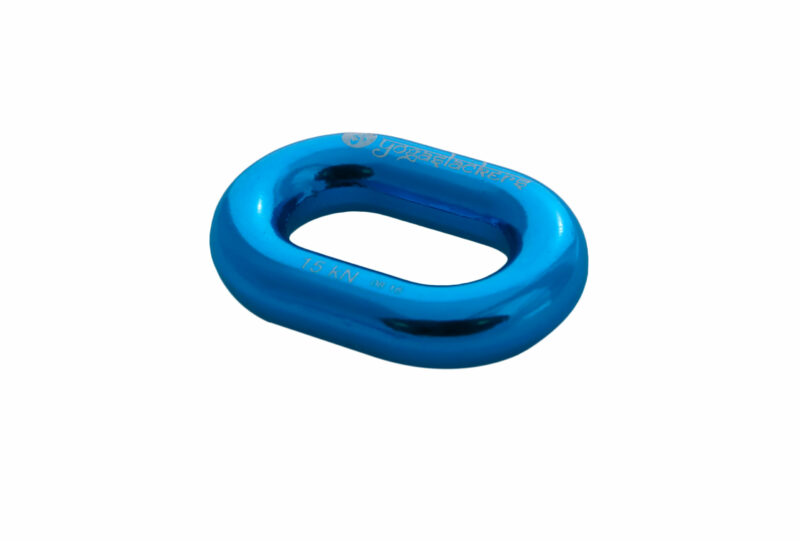
Line Lock or webbing anchor
A component utilized to create a movable and impermanent knot. Knots typically reduce the strength of webbing by 40%. Webbing anchors allow a non-permanent “anchor” to be placed anywhere along a line while retaining over 70% of the strength of the webbing.
Line Lock
4) Tensioning System
System utilized to add or remove tension to the webbing.
Sag
The distance the line sinks when a slacker is in the middle of the line.
Image from Landcrusing Slacklines
Knot
A knot is used to join two ropes or webbing together or to itself. If done correctly a knot will hold shape regardless of it being fixed to something else.
Hitch
A knot used to fix a rope to another object.
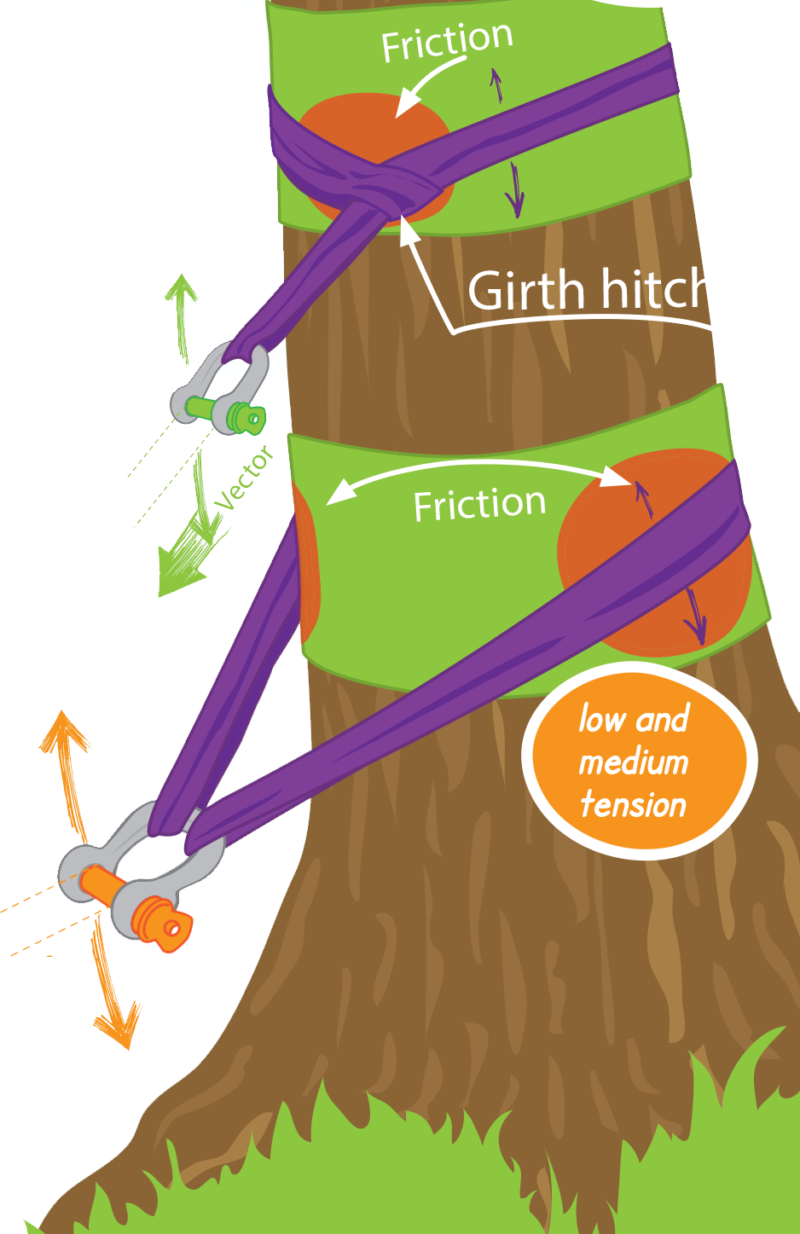
Girth Hitch or Choker
The most common way to attach a webbing or anchor to a carabiner.
Tying Instructions:
Pass the loop of the strap around the harness, strap, or rope. Thread the other end of the strap through the loop. Make sure the strap lies neatly and then pull it tight. The Girth Hitch weakens a sling, particularly if two straps are directly knotted to each other.
Basket
An anchor wrapped around an object with a shackle connecting it together, this will effectively double the strength rating of the anchor webbing.
Girth hitch (top) vs Basket (bottom)
Image from Slackline US