Jun 26 2026 - Jun 28 2026
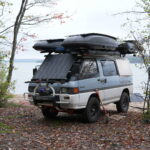
Overland Expo PNW with the YogaSlackers: Slackline Yoga, AcroYoga & Overland Travel
Deschutes County Expo Center


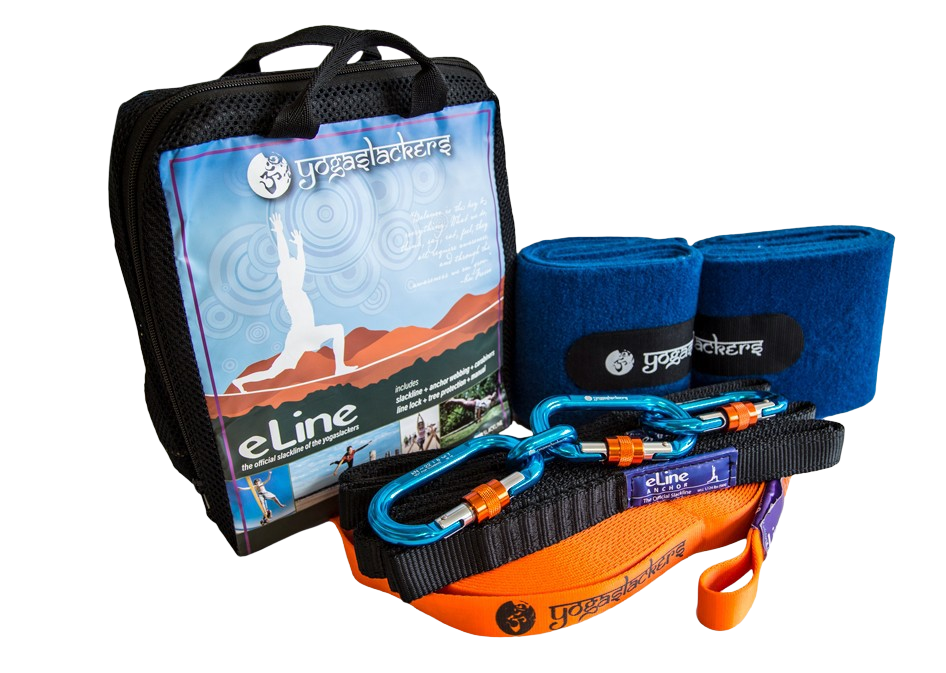
Our complete collection of slackline gear, thoughtfully designed for all skill levels.