Crow Pose: A Pathway Toward Stronger Handstands | 12 Days of Handstands | April 2026
As I prepare for my classes at the Catskill Yoga Festival this July, I have been thinking a lot about how one practice supports another. slackline yoga, acroyoga, yoga, and handstands are not separate worlds to me. They are all connected.
Arm balances on the ground can become much more accessible when we improve our balance, body awareness, and confidence through slacklining or acroyoga. At the same time, the shapes and drills we use for handstands can directly support and strengthen our yoga practice.
My yoga practice changed immensely when I started practicing acro and slacklining. It became stronger, more balanced, and more inquisitive because I began looking at it through a different lens. I started asking myself: How should I practice this pose so I can do it on a slackline?
That mental process allowed me to dive deeper into the poses I was practicing on the mat and to break them down in a way that helped me find their inner structure.
In a similar way, when I practiced slackline yoga, I began wondering how I could practice to improve my acro and yoga practice. How I can use the line to make this pose easier in terms of effort, balance, and overall understanding.
And I have never stopped asking those questions!
Show me a new way to move, and I will ask the same thing. Now that we have been practicing a lot of kiteboarding, it is the same process. How can this new form of movement benefit my other movement practices? And how can I modify my other practices to support this one?
I think this is a natural process – as Yoga is not only about shapes or techniques – its aim is to quiet the mind, cultivate awareness, and help us return to a greater sense of connection within ourselves and with the world around us.
In a way, I am always looking for that union in everything I practice. Because it reminds me to find that same sense of union when I am not practicing too.
TRAINING SCHEDULE
Your daily practice:
- 1 minute plank
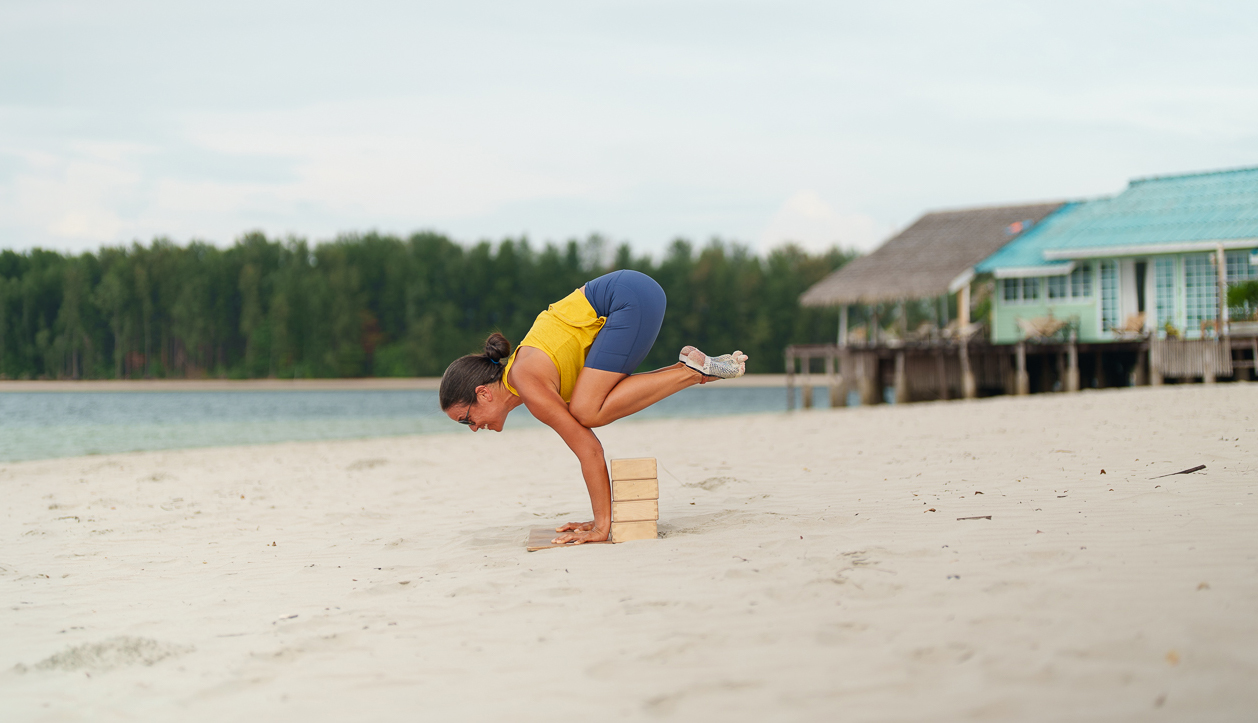
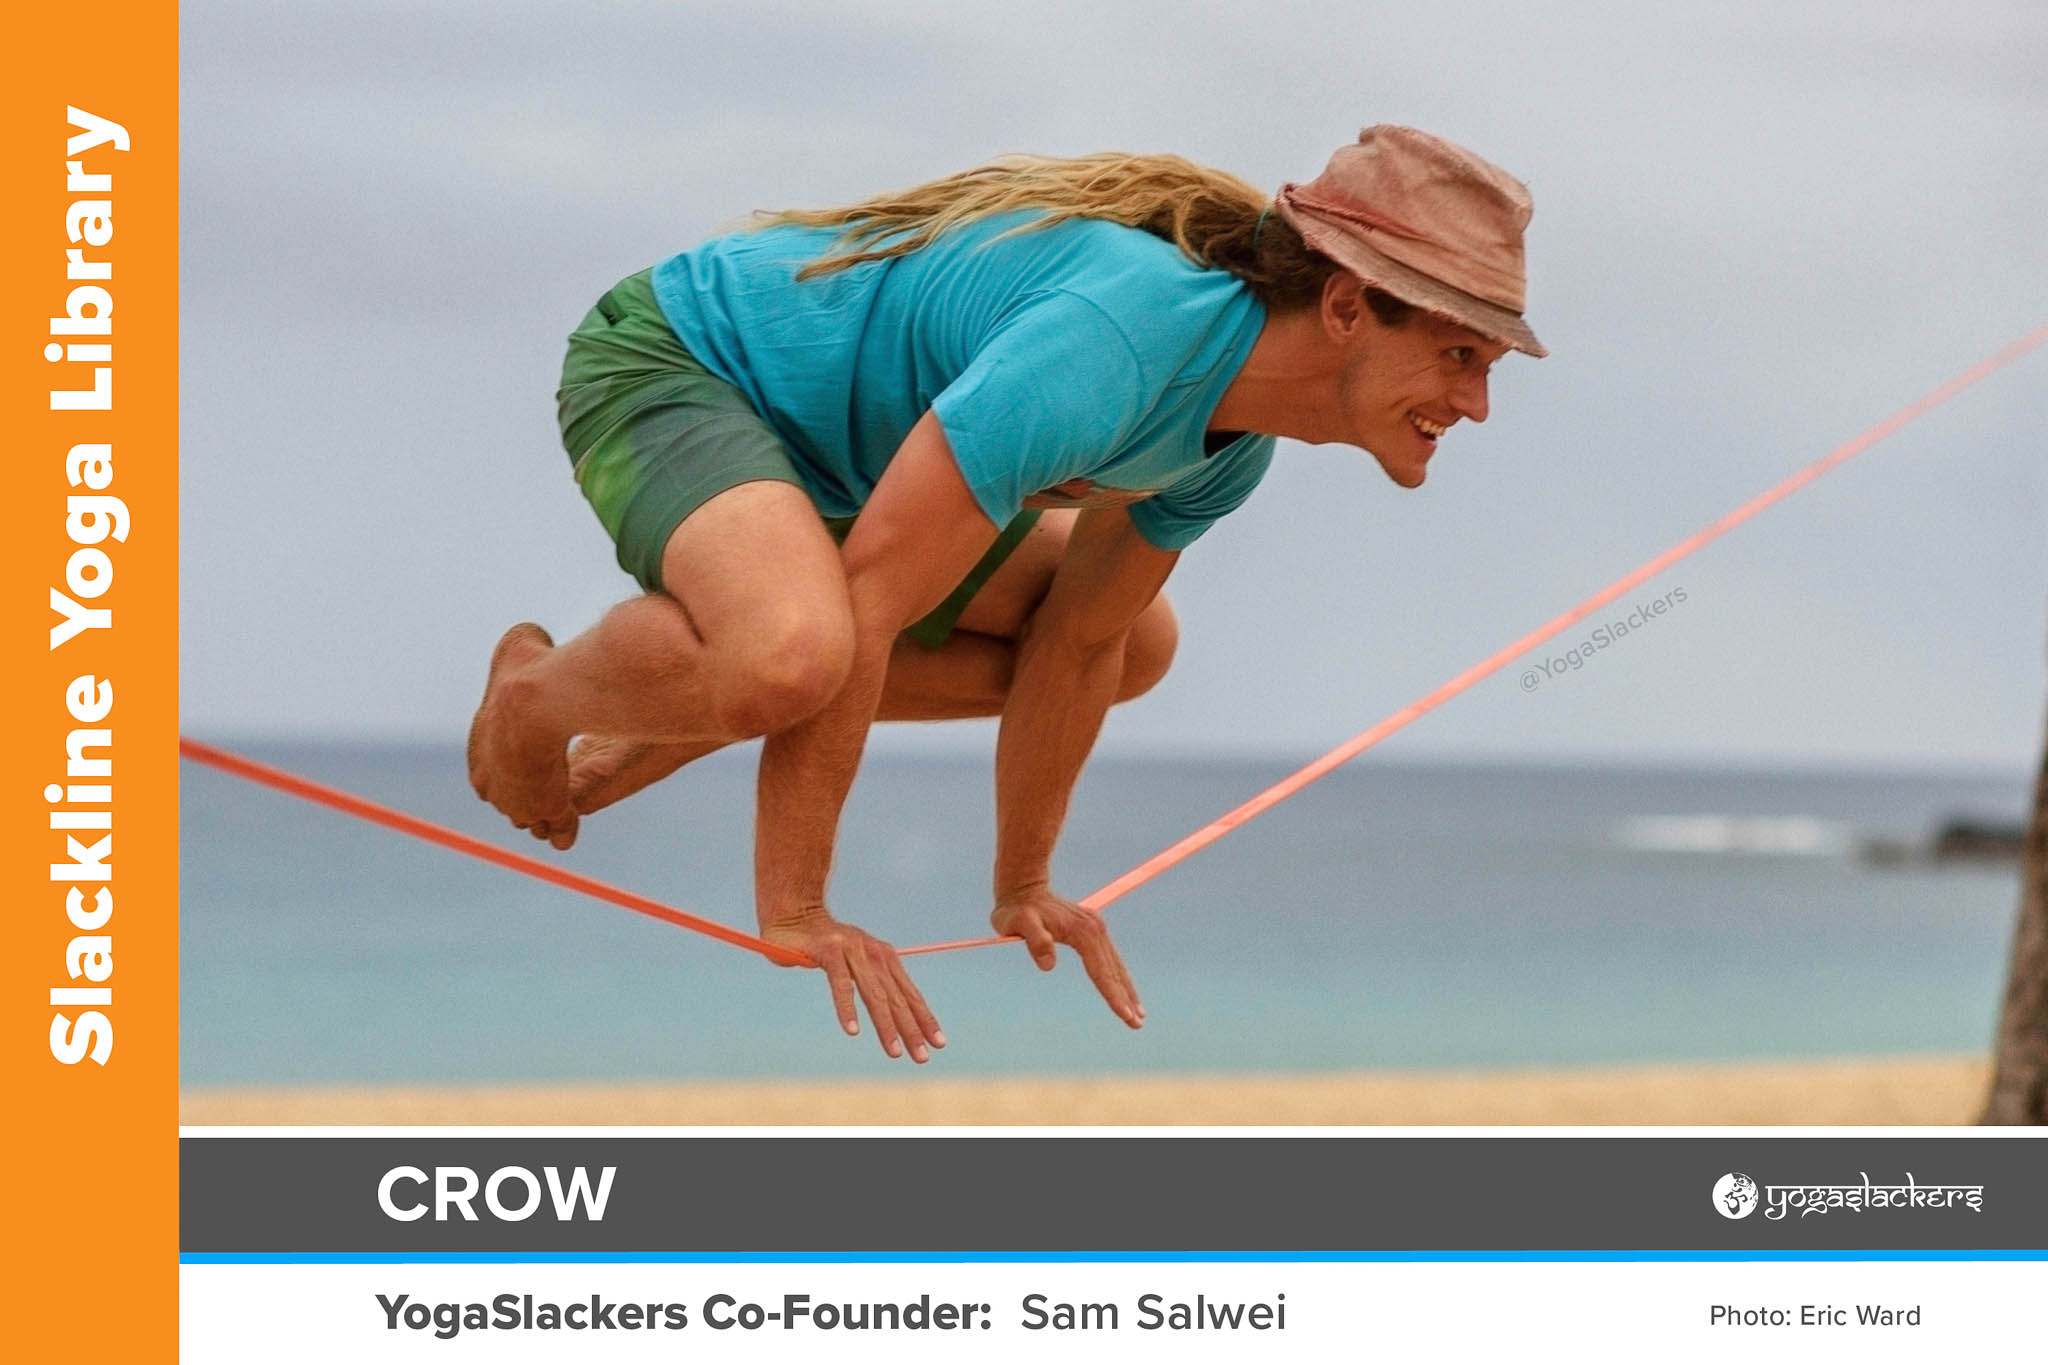
- 1 minute crow
- 1 minute headstand
- 1 minute handstand (or an alternative)
That is it!
Through this process, I want you to notice how these traditional yoga poses support your handstand journey. While they all share the obvious commonality of being hand balances or inversions, each one highlights something different. Your job this month is to explore those differences and discover what each pose has to teach you.
You can scale it however you need. You might do 10 seconds of each and build up over the month. You might choose just one of the four each day and hold it for 1 minute. But the real goal is simple:
Practice daily.
Why? Because if you are truly practicing yoga with the intention of finding union, then you can practice every day. 1 to 5 minutes is enough. Not all yoga practices need to be 90 minutes long! All it takes is a moment to stop, breathe, and reconnect.
Keep it approachable. Keep it consistent. And let the small daily effort add up.