Jul 31 2025 - Aug 03 2025
10th AcroCamp NorthEast
Otis Mountain
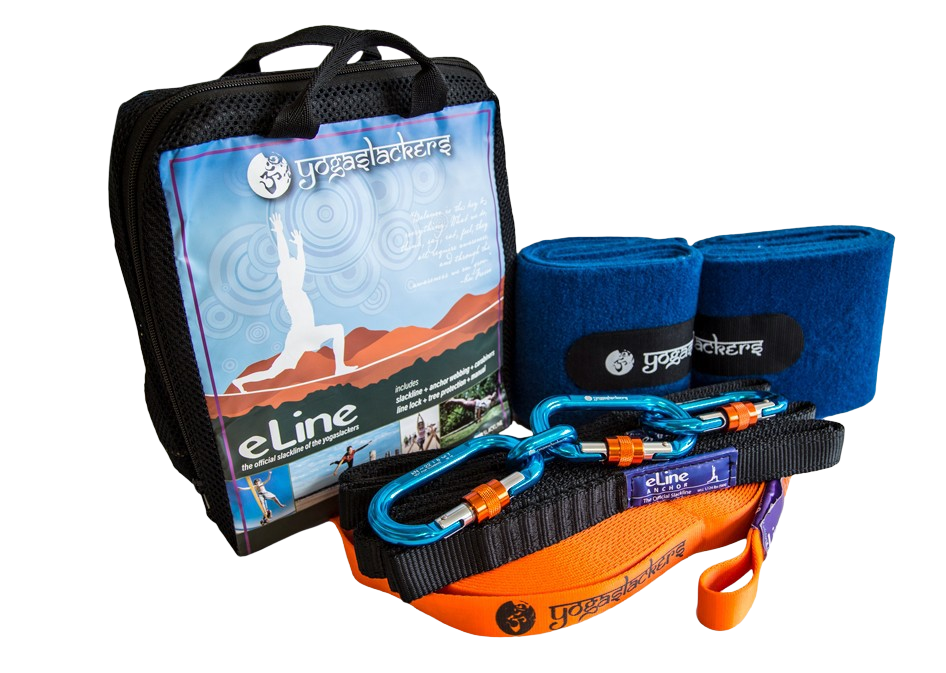
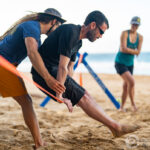
Our complete collection of slackline gear, thoughtfully designed for all skill levels.