2027 YogaSlackers Teacher Training
Chiang Mai, Thailand
Home | Explore | Handstands | 12 Days of Handstands
YogaSlackers 12 Days of Handstands goal is to empower participants around the world to train handstands wherever they are with the support of an online community.
In this page you will find this month’s training program. We update this page during the last days of the month. Join our newsletter to receive a notification when the new training program is loaded.
We also recommend you join our Facebook group to connect with our community of supportive and dedicated handstanders around the world.
Join us in growing and enriching our community by contributing $10 to $20 monthly, or with a one-time contribution via PayPal or Venmo. Your support helps us continue creating training plans, developing new videos, and offering valuable feedback to our community.
If you’re looking for something more personalized, explore our tailored training programs. These plans are designed to meet your specific needs and can be shared with up to two others who have similar goals. Together, we can achieve more!
Practice your handstands on a wood board, hard carpet, or a thin yoga mat. This will help you absorb some of the pressure created on your hands while handstanding, without creating too much instability.
Avoid practicing on soft surfaces – such as thick carpets, puzzle mats or thick yoga mats – as the instability created by them can put your joints in compromised positions.
Nothing fancy is needed. I use a homemade 1/2 in (3.81 cm) plywood board.
Clear out some space around a wall or pillar in your home. Make sure to clear up enough space to create a safe fall zone in case you fall in any direction.
Remember to use your thin yoga mat or handstand board during your wall training drills.
We use yoga blocks to help us maintain proper forearm alignment. If you don’t have any, think outside the block and experiment using water bottles, books or boxes.
You will need to time the length of your handstands. It can be done with a friend and a chronometer or by trimming a video.
Here are a few of our favorite apps to time our handstands: M Stopwatch, Handstand Quest, and Seconds.
Handstand training like any other training stresses your body. Take time after each training session and between training days to massage your body.
We recommend Armaid and RAD rollers. Check out our resource page for discount codes for both.

Chiang Mai, Thailand

Bonaire
Caribbean Netherlands

Puerto Rico
San Juan, Puerto Rico

Chiang Mai, Thailand
The original challenge involves holding cumulative minutes. You will start a timer as soon as your feet leave the ground and stop the timer as soon as your feet return to the ground. During your next handstand you will continue the timer until you accumulate your desire time for the day.
Cumulative handstand holds are about ‘time on your hands’. Form and entrance style are not as important as holding your handstand.
There are two main ways to do this:
1) Practice one cumulative minute handstand per day of the month until day 12th.
Example:
Day 1, 1 cumulative minute.
Day 2, 2 minutes… all the way to
Day 12, 12 minutes.
2) Or spread the 12 days throughout the month. Keeping track of what day you are on.
If you choose to practice the original challenge, attempt all your handstands off the wall. You may use a spotter to avoid catastrophic falls, but if you touch the spotter or the wall, come down immediately and try again. Please not to use the spotter to hold the handstand longer than you can hold on your own.
This challenge is all about learning to enter a handstand and how to balance a handstand off the wall by practicing small movements. If you use a wall or a spotter to go up without control or if you touch the wall and continue holding the handstands then this challenge will be less effective.
If you feel like you need a spotter or a wall to enter the handstand, then we recommend you do not attempt this level yet, and instead attempt Level 1.
Level 1 drills are designed to help you become comfortable entering and exiting a handstand on the wall. The primary focus on this level is to learn:
Stay on this level until you can hold 6x plank for 1 min in less than 12 minutes or until you can handstand off the wall for 5 seconds.
Level 2 Drills are about learning to be comfortable off the wall. While form is always important, perfectly straight off the wall handstands in this level are not the main goal.
However, on the wall, your goals is to have perfect form. Do not sacrifice your form for longer wall handstands. That defies the purpose of most wall drills. These drills are to improve your form, not the length of your wall handstands.
Stay in this level until you can hold a handstand off the wall for 15 to 30 seconds.
Level 3 drills are meant to help you have a longer, quieter and straighter handstand. Your goal at this level is to focus on quality of movement on and off the wall. Yes, we do want longer handstands, but stability and alignment comes first.
Focus on form and effective movement on wall handstands, entrances, exits and holds… in that order.
Stay on this level until you can hold a straight and quiet 1 minute handstand.
What after the 1 minute mark?
Then you will be able to work on leg isolations, asymmetric holds and increase your handstand hold to 2 minutes and one arm handstands (OAHS). However, will only take you to a 1 min, maybe a 1:30 goal.
If you would like more, contact Raquel for personalized training plans.
End each practice with meditation.
Explore how your core engagement helps you stay centered. Observe how the breath can create a shift in your center of gravity. See how you can modify your breath to take full breaths without rocking your body forwards and back. Then apply that change in your breathing pattern to your next handstand practice.
Just like in your handstand, it may be useful to video yourself from the side. This will allow you to see if you are leaning, curling or loosing your line in any way.

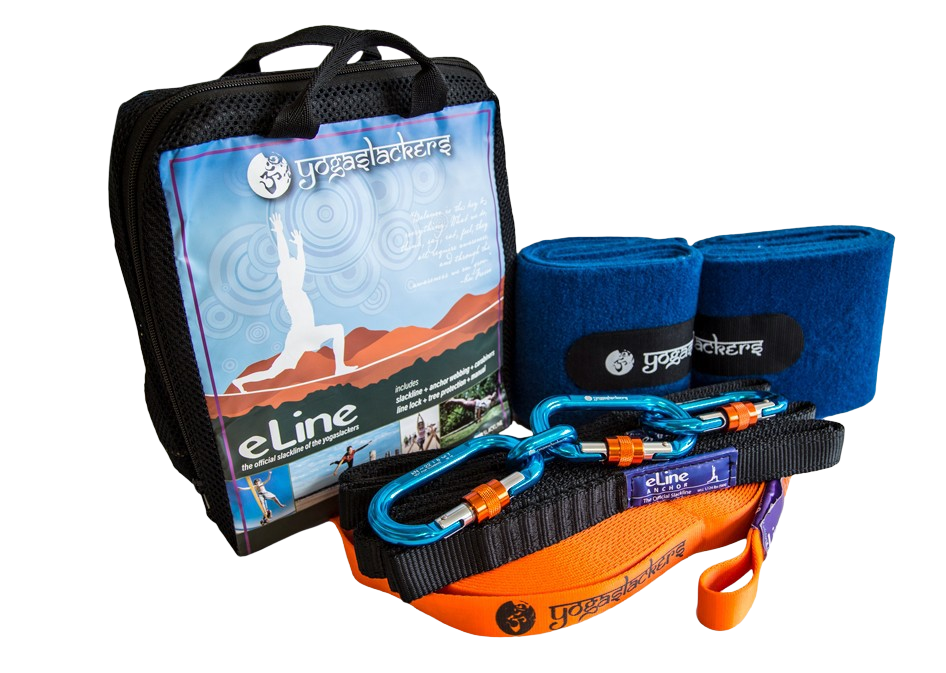
Our complete collection of slackline gear, thoughtfully designed for all skill levels.