
x-Frames
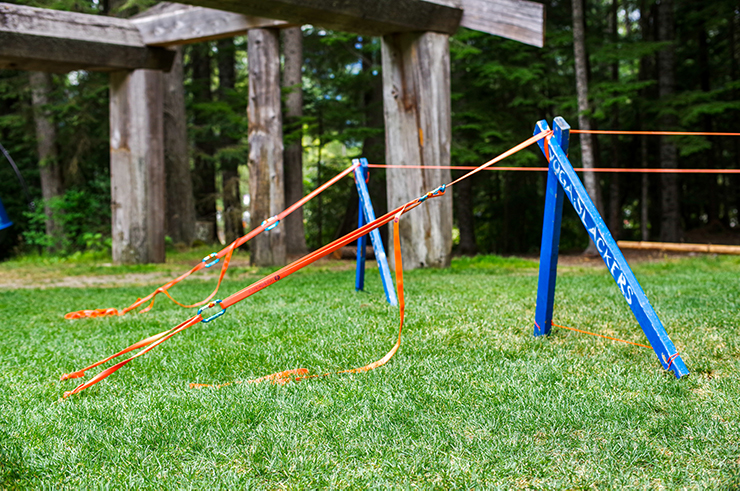
If trees are not an option or attaching to a solid structure that is at least hip high is unavailable for you, you may want to consider building some frames. There are many ways to build support for tree-less slacklining, and many plans can be found online. We use xframes at almost all festivals we teach at, whenever we set waterlines over pools and often in indoor rigging conditions. We gravitate to this type of frame because they are easy to store and transport. If you are building a frame for a permanent installation, for longlines or highlines, we recommend using a hang frame instead.
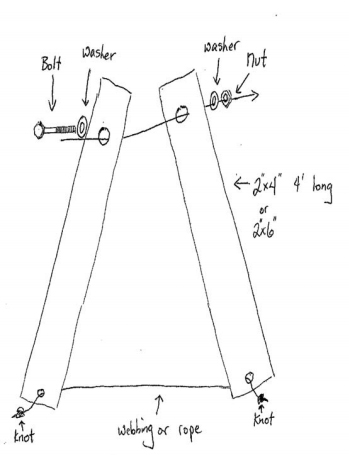
You can purchase xframes online, but you may be better off building your own. Below is a rough drawing of a very simple frame to be used in conjunction with ground anchors or stakes to make a full treeless setup.
Materials Required
1) Two Pieces of wood 2"x4" studs
2) Hardware
- One 3 1/2″ long x 5/16″ bolt
- One Lock nut
- Two washers
3) Rope or Webbing
Tools Required
- Saw (only if you need to cut the boards. Most hardware stores will cut them for you.)
- Drill with bit the same size as bolt
- Ratchet or wrench to tighten bolt
- Scissors and lighter to finish the ends of the cord
Building Instructions
- Drill hole through the center of each 2 x 4, 6″ below top for the bolt and 2″ from the bottom for the rope/cord.
- Place the bolt through the top holes (don’t forget washers!) and hand tighten.
- Slide rope through bottom holes, tying a knot big enough on each end that it cannot slip back through (tip use a drill bit the same diameter as the rope and use a barrel knot as a stopper).
You can vary the width of the bottom of the X-frame (thus varying the height) simply by wrapping the cord around the end of the legs of the frames once or twice (make sure the cord is long enough to provide you with 3 or 4 height options).
x-frame Setup Instructions
Prepare The Setup
- Lay down the open xframe on the ground 3 to 4 feet away from the ground anchor. You can use your 3 to 4 foot long xframe to calculate this distance.
- Lay the slackline on top of the xframes from one ground anchor to the other.
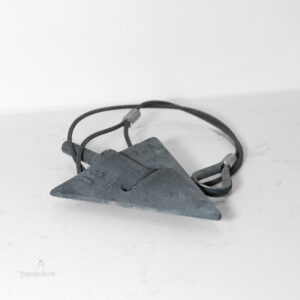
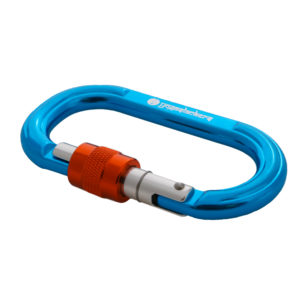
- Connect a carabiner to each ground anchor.
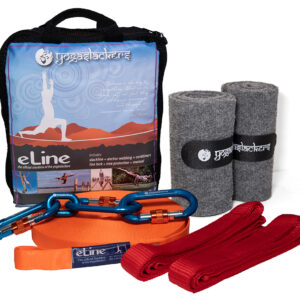
Loop Side of the eLine
- Stand the xframe up.
- Wrap the loop side of the eLine around the xframe once, leaving enough of a tail to reach the ground anchor. We recommend using some sort of padding to protect your lines from the frames. Thin pieces of tree pro work great.
- Connect the loop side of the eLine to the ground anchor with a carabiner.
- The angle made by the eLine should be less than 45 degrees. This will decrease the upward forces on the anchor. If the angle is larger than this, you will need to walk the xframe further away from the anchor
Tensioning Side of the eLine
- Walk the line from the loop side xframe to the second xframe, making sure that it stays flat.
- Stand the xframe up at least 4 feet away from the anchor. Wrap the line around the second xframe.
- Place the line lock close to the xframe on the anchor side. Continue making the zdrag as explained in the eLine Setup. Placing the line lock as close to the frame as possible will make tensioning easier.
Review Your Setup
- The xframes should tilt slightly (10 to 15 degrees off vertical) towards the anchors. The angle created by the slackline (ground anchor to xframe) should be less than 45 degrees.
- Sit on the middle of the line. The frames will naturally sink a little bit onto the ground making the line sag. (If you are setting up on solid or slick ground you will need to pin the legs of the frame to the ground to inhibit them from sliding.) Re-tension the line once more.
- Sit on the middle of the line and bounce slightly while a friend observes the ground anchors. These should not move. Review your angles once more and celebrate. You are ready to slack!
NOTE: We do not recommend surfing or jumping on xframes lines.