Depending on the situation, rigging indoors can be as easy as using a column as a “tree” or as complex as having to reinforce a wall and install plates. Whenever you decide to rig off any structure (trees included) your first question should be: is this strong enough to withstand the forces created while slacklining? If the answer is no, maybe, or I don’t know, then do not do it.
While we don’t want to discourage you to rig indoors, we do want to encourage you to seek professional help while doing so. Here are some indoor rigging examples. Some easier than others.
If the area you would like to set your line has any exposed columns or beams that are solid, you are in luck! Make sure these columns are load bearing and can withstand the pull forces. If they move even a tiny bit do not set your lines there. Small columns, small deck poles, or decorative columns are not appropriate. You could easily pull down the entire structure and the roof associated to it if you set up on a structure that is not strong. When in doubt ask an engineer.
The setup on strong columns and beams is exactly the same as using trees. Make sure you still use tree protection, in this case, to protect your gear from any sharp corners or edges that could easily cut and damage your webbing.
Consider the landing zone. Install puzzle mats of at least 1 inch of thickness underneath the slackline. Acrobatics mats are also suitable as they provide cushioning from falls without compromising the stability of the ground. Bouldering pads (crash pads), mattresses or any other surface that is too soft will not be suitable as it can de-stabilize your step and cause ankle injury.
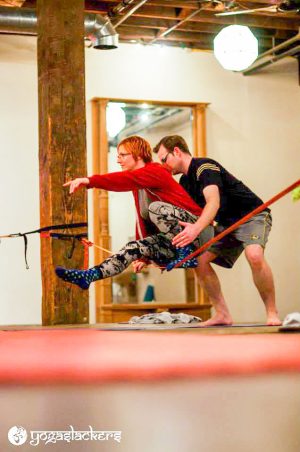
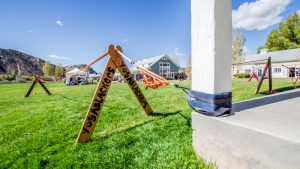
You could install a wall anchor in many different ways. While deciding what method to use you should keep the end goal of creating a 5 to 1 safety standard. Each side in the setup should have a 1000 lbs WLL (working load limit) or 5000 lbs MBS (minimum breaking strength). If this does not mean anything to you, ask for a professional assistant while creating a wall anchor.
The setup will differ considerably depending on if you are installing in cement blocks, solid concrete, wood, i-beams, or drywall. The examples presented here should help you understand what is possible. We recommend you use an engineer while installing any of these.
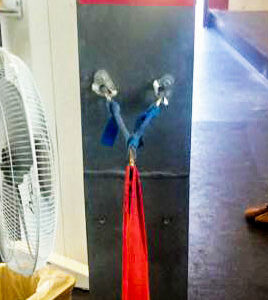
Installing concrete fasteners requires the understanding of sheer vs pull out ratings, which again are beyond the scope of this website. It also requires knowledge on equalizing forces, as often one bolt is not enough to withstand the forces of slacklining. Here we present you with enough information for you to speak with professional installers more effectively.
Expansion bolts: Expansion bolts or expansion anchors are designed for anchoring into concrete or cement.
Titanium Glue-Ins: Are the new standard bolts used in outdoor climbing. A must if bolting permanent anchors outside or in corrosive environments such as pools. ½” or 13mm bolts is becoming industry standard.
Concrete Screws: these work best when you have a large plate and a weaker base, as the help spread the load out.
E tracks: A metal plate utilized for keeping cargo, equipment and even vehicles tied down during transport. (2000 lbs WLL)
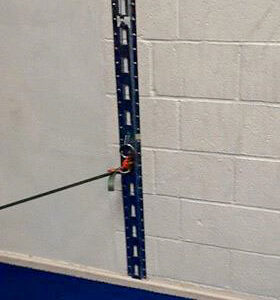
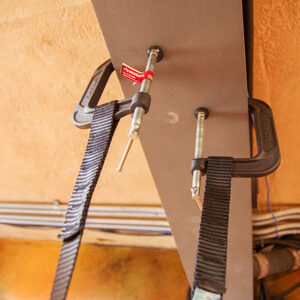
There are a number of building that have Vertical I-beam construction, beam clamps are a great way to add slacklines to these spaces.


Madagascar
Baie de Sakalavascar, Madaga

Chiang Mai, Thailand

Chiang Mai, Thailand

Koh Ngai, Thailand
Koh Ngai, Thailand